Deploying ARO using azurerm Terraform Provider
This content is authored by Red Hat experts, but has not yet been tested on every supported configuration.
Overview
Infrastructure as Code has become one of the most prevalent ways in which to deploy and install code for good reason, especially on the cloud. This lab will use the popular tool Terraform in order to create a clear repeatable process in which to install an Azure Managed Openshift(ARO) cluster and all the required components.
Terraform
Terraform is an open-source IaC tool developed by HashiCorp. It provides a consistent and unified language to describe infrastructure across various cloud providers such as AWS, Azure, Google Cloud, and many others. With Terraform, you can define your infrastructure in code and store it inside of git. This makes it easy to version, share, and reproduce.
This article will go over using the Terraform’s official azurerm provider in order to deploy an ARO Cluster into our Azure environment.
Azure’s Terraform Provider
Azurerm is one of Azure’s official Terraform provider, which contains the Azurerm Red Hat Openshift Cluster Module that is used for the deployment of Azure Managed Red Hat Openshift(ARO).
This lab will also be using resources from the azuread module .
Prerequisites
- Azure CLI
- Terraform
- (Optional) Resource Group and
Storage Account
used to store state information
- Create a blob container named
tfstateusing the storage account
- Create a blob container named
Create the following environment variables
export CLIENT_ID=xxxxxx
export GUID=$(tr -dc a-z0-9 </dev/urandom | head -c 6; echo)
export CLUSTER_DOMAIN=$GUID-azure-ninja

# Resource group and storage provider class for state storage
export STORAGE_ACCOUNT_RESOURCE_GROUP=xxxxxxx
export STORAGE_ACCOUNT_NAME=xxxxxxx
export STORAGE_CONTAINER_NAME=tfstate
Create Terraform Config
To start create a new directory for our Terraform Config containing a
main.tf,variables.tf, andterraform.tfvarsfile.mkdir aro_terraform_install cd aro_terraform_install touch main.tf variables.tf terraform.tfvarsmain.tfwill hold the main Terraform configurationvariables.tfcontains the required inputs during our apply processterraform.tfvarscontain the input values for our variables.tf and should be the only file modified when doing subsequent deployments
Configure Provider and Backend Storage
The azurerm provider gives us access to modules used to install the different Azure resources required.
The
azurerm backend
will be used to store our tfstate file. This file is how Terrform is able to keep state information on deployments and will contain sensitive data so it should not be stored in source control or an unencrypted state.
Add the azurerm provider to your
main.tffilecat <<EOF > main.tf terraform { required_providers { azurerm = { source = "hashicorp/azurerm" version = "3.89.0" } } // Backend state is recommended but not required, this block can be removed for testing environments backend "azurerm" { resource_group_name = "$STORAGE_ACCOUNT_RESOURCE_GROUP" storage_account_name = "$STORAGE_ACCOUNT_NAME" container_name = "$STORAGE_CONTAINER_NAME" key = "example.terraform.tfstate" } } provider "azurerm" { features {} skip_provider_registration = true } EOFNote that the Backend azurermhis is not required but it is recommended in order to store the state file.
Reference Install Service Principle
This article will assume that the user has an existing Enterprise Application and Service Principle that can be used for the install of the ARO cluster.
If you want to create a new Application/SP the example in the module’s full documentation can be referenced for how to do that.
Reference the
Service Principleinmain.tfusing the azuread_service_principal data sourcecat <<EOF >> main.tf #################### # Reference Service Principal #################### data "azuread_service_principal" "example" { client_id = var.client_id } EOFNote we are referencing the variable
client_idin snippet above. Meaning we need to addclient_idto ourvariables.tfcat <<EOF > variables.tf variable "client_id" { type = string } variable "client_password" { type = string } EOFFinally lets add our client information to the
terraform.tfvarscat <<EOF > terraform.tfvars client_id = "$CLIENT_ID" EOFNote that we also created a client_passwordvariable (that will be used later) but did not add it to ourterraform.tfvars. This is so that we are able to check ourterraform.tfvarsfile into source code, without expsing sensitive data. You will be required to enter theclient_passwordduring theterraform applycommand in the future
Reference Red Hat’s Service Principle
Red Hat has a specific Service Principle that must be referenced, DO NOT change this value, this is not a SP that you control
cat <<EOF >> main.tf

data "azuread_service_principal" "redhatopenshift" {
  // This is the Azure Red Hat OpenShift RP service principal id, do NOT delete it
  client_id = "f1dd0a37-89c6-4e07-bcd1-ffd3d43d8875"
}
EOF
Create Resource Groups
Create Resource Groups using the azurerm_resource_group module
cat <<EOF >> main.tf

####################
# Create Resource Groups
####################

resource "azurerm_resource_group" "example" {
  name     = var.resource_group_name
  location = var.location
}

EOF
The datablocks in this provider are generally used for referencing existing Azure Objects and theresourceblocks are used for the creation of new resourcesCreate the
resource_group_nameandlocationvariablescat <<EOF >> variables.tf variable "resource_group_name" { type = string default = "aro-example-resource-group" } variable "location" { type = string default = "eastus" } EOFThis time we created values with a default, so there is no need to modify ourterraform.tfvarsfor now
Create Virtual Networks (subnets)
Create the required vnet and subnets using the azurerm_virtual_network and azurerm_subnet modules.
cat <<EOF >> main.tf

####################
# Create Virtual Network
####################

resource "azurerm_virtual_network" "example" {
  name                = "aro-cluster-vnet"
  address_space       = ["10.0.0.0/22"]
  location            = azurerm_resource_group.example.location
  resource_group_name = azurerm_resource_group.example.name
}

resource "azurerm_subnet" "main_subnet" {
  name                 = "main-subnet"
  resource_group_name  = azurerm_resource_group.example.name
  virtual_network_name = azurerm_virtual_network.example.name
  address_prefixes     = ["10.0.0.0/23"]
  service_endpoints    = ["Microsoft.Storage", "Microsoft.ContainerRegistry"]
}

resource "azurerm_subnet" "worker_subnet" {
  name                 = "worker-subnet"
  resource_group_name  = azurerm_resource_group.example.name
  virtual_network_name = azurerm_virtual_network.example.name
  address_prefixes     = ["10.0.2.0/23"]
  service_endpoints    = ["Microsoft.Storage", "Microsoft.ContainerRegistry"]
}
EOF
Note that terraform resources can reference themselves, azurerm_resource_group.example.namegets the name of our previously created resource group
Create Network Roles
Create the network roles using the azurerm_role_assignment module.
cat <<EOF >> main.tf

####################
# Setup Network Roles
####################


resource "azurerm_role_assignment" "role_network1" {
  scope                = azurerm_virtual_network.example.id
  role_definition_name = "Network Contributor"
  // Note: remove "data." prefix to create a new service principal
  principal_id         = data.azuread_service_principal.example.object_id
}

resource "azurerm_role_assignment" "role_network2" {
  scope                = azurerm_virtual_network.example.id
  role_definition_name = "Network Contributor"
  principal_id         = data.azuread_service_principal.redhatopenshift.object_id
}
EOF
Create Azure Managed Red Hat Openshift(ARO) Cluster
Finally create the ARO cluster with the azurerm_redhat_openshift_cluster module.
cat <<EOF >> main.tf

####################
# Create Azure Red Hat OpenShift Cluster
####################

resource "azurerm_redhat_openshift_cluster" "example" {
  name                = var.cluster_name
  location            = azurerm_resource_group.example.location
  resource_group_name = azurerm_resource_group.example.name

  cluster_profile {
    domain = var.cluster_domain
    version = var.cluster_version
    pull_secret = var.pull_secret
  }

  network_profile {
    pod_cidr     = "10.128.0.0/14"
    service_cidr = "172.30.0.0/16"
  }

  main_profile {
    vm_size   = "Standard_D8s_v3"
    subnet_id = azurerm_subnet.main_subnet.id
  }

  api_server_profile {
    visibility = "Public"
  }

  ingress_profile {
    visibility = "Public"
  }

  worker_profile {
    vm_size      = "Standard_D4s_v3"
    disk_size_gb = 128
    node_count   = 3
    subnet_id    = azurerm_subnet.worker_subnet.id
  }

  service_principal {
    client_id     = data.azuread_service_principal.example.client_id
    client_secret = var.client_password
  }

  depends_on = [
    azurerm_role_assignment.role_network1,
    azurerm_role_assignment.role_network2,
  ]
}
EOF
And update the
variables.tffile to include the newly referenced varscat <<EOF >> variables.tf variable "cluster_name" { type = string default = "MyExampleCluster" } variable "cluster_domain" { type = string default = "$CLUSTER_DOMAIN" } variable "cluster_version" { type = string default = "4.12.25" } // Needs to be passed in to the cli, format should be: // '{"auths":{"cloud.openshift.com":{"auth":"xxxxxxxxxxxxxxxxxxxxxxxxxxxxxxxxxxxxxxxxxxxx=","email":"jland@redhat.com"},"quay.io":{"auth":"xxxxxxxxxxxxxxxxxxxxxxxxxxxxxxxxxxx=","email":"jland@redhat.com"},"registry.connect.redhat.com":{"auth":"xxxxxxxxxxxxxxxxxxxxxxxxxxxxxxxxx=","email":"jland@redhat.com"},"registry.redhat.io":{"auth":"xxxxxxxxxxxxxxxxxxxxxxxxxxxxxxxxxxxxxxx=","email":"jland@redhat.com"}}}' variable "pull_secret" { type = string } EOFpull_secretis another variable that will be required atapplytime. Your pull secret can be retrieved from the Red Hat Hybrid Cloud Console
Add Output
As one last quick post step lets add the
console_urlto our Terraform command’s outputcat <<EOF >> main.tf #################### # Output Console URL #################### output "console_url" { value = azurerm_redhat_openshift_cluster.example.console_url } EOF
Run Terraform
Only thing left is to run and validate our Terraform config works succesfully
Log into your Azure cluster with the
az logincommand.Run
terraform initin order to download the required providersInside the directly optionally run
terraform planin order to view the resources that will be created during the apply.Run
terraform applyto start the creation of the resources, this should prompt you for- Client Password: Password used for the Service Principle referenced above
- Pull Secret: Red Hat pull secret retrieved from Red Hat Hybrid Cloud Console . Paste it in exactly as copied
It will take a while for the ARO cluster to complete installation, but one the apply is completed a Openshift ARO Cluster should be successfully installed and accessible
The
kubeadminpassword can be retrieved with the command +az aro list-credentials --name <CLUSTER_NAME> --resource-group aro-example-resource-group -o tsv --query kubeadminPassword
If there are issues with the commands compare your terraform configuration to the solution here .
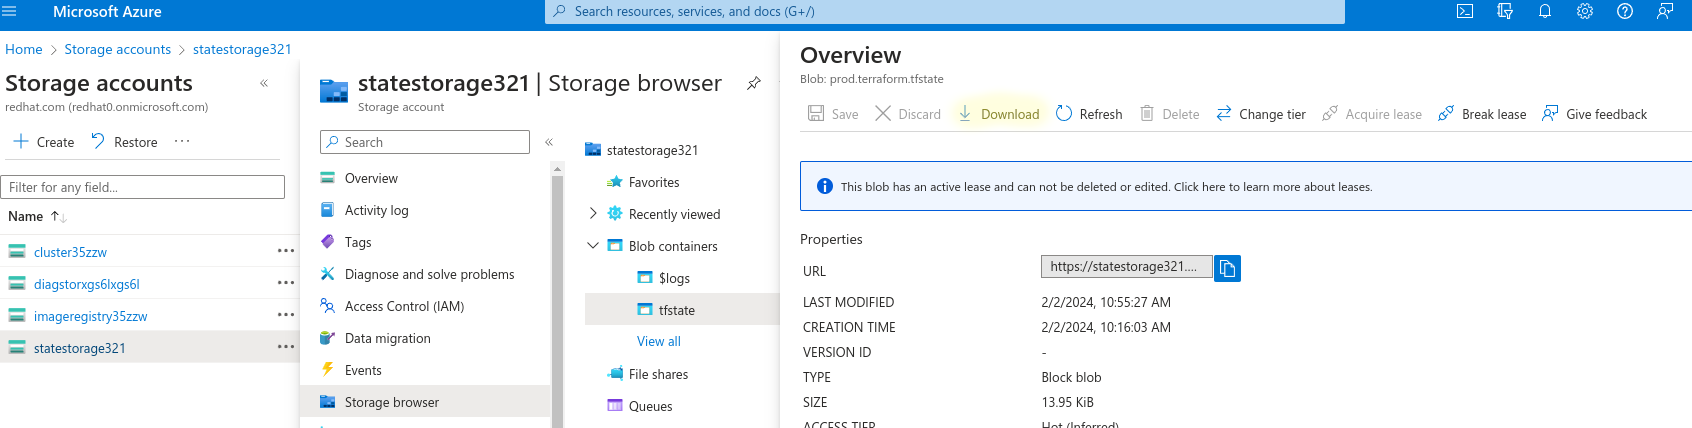
Stretch Goal
Retrieve your tfstate file from the Blob Storage container created earlier (or locally if the backend was not used). Review the information stored inside of the state file to identify the different Azure Resources that were created when the terraform apply command was run.
Conclusion
This article demonstrates the deployment of OpenShift clusters in a consistent manner using Terraform and the azurerm provider. The provided configuration is highly adaptable, allowing for more intricate and customizable deployments. For instance, it could easily be modified for the use of a custom domain zone with your cluster.
Utilizing this provider allows your enterprise to streamline maintenance efforts, as the centralized main.tf and variable.tf files require minimal changes. Deploying new Azure Red Hat OpenShift (ARO) clusters simply involves updating the variables in the terraform.tfvars file.