ARO Quickstart
This content is authored by Red Hat experts, but has not yet been tested on every supported configuration.
A Quickstart guide to deploying an Azure Red Hat OpenShift cluster.
Video Walkthrough
If you prefer a more visual medium, you can watch Paul Czarkowski walk through this quickstart on YouTube .
Prerequisites
Azure CLI
Obviously you’ll need to have an Azure account to configure the CLI against.
MacOS
See Azure Docs for alternative install options.
Install Azure CLI using homebrew
brew update && brew install azure-cli
Linux
See Azure Docs for alternative install options.
Import the Microsoft Keys
sudo rpm --import https://packages.microsoft.com/keys/microsoft.ascAdd the Microsoft Yum Repository
cat << EOF | sudo tee /etc/yum.repos.d/azure-cli.repo
[azure-cli]
name=Azure CLI
baseurl=https://packages.microsoft.com/yumrepos/azure-cli
enabled=1
gpgcheck=1
gpgkey=https://packages.microsoft.com/keys/microsoft.asc
EOF
Install Azure CLI
sudo dnf install -y azure-cli
Prepare Azure Account for Azure OpenShift
Log into the Azure CLI by running the following and then authorizing through your Web Browser
az loginMake sure you have enough Quota (change the location if you’re not using
East US)az vm list-usage --location "East US" -o tablesee Addendum - Adding Quota to ARO account if you have less than
36Quota left forTotal Regional vCPUs.Register resource providers
az provider register -n Microsoft.RedHatOpenShift --wait
az provider register -n Microsoft.Compute --wait
az provider register -n Microsoft.Storage --wait
az provider register -n Microsoft.Authorization --wait
Get Red Hat pull secret
Log into https://console.redhat.com
Browse to https://console.redhat.com/openshift/install/azure/aro-provisioned
click the Download pull secret button and remember where you saved it, you’ll reference it later.
Deploy Azure OpenShift
Variables and Resource Group
Set some environment variables to use later, and create an Azure Resource Group.
Set the following environment variables
Change the values to suit your environment, but these defaults should work. AZR_RESOURCE_LOCATION=eastus AZR_RESOURCE_GROUP=openshift AZR_CLUSTER=cluster AZR_PULL_SECRET=~/Downloads/pull-secret.txtCreate an Azure resource group
az group create \
  --name $AZR_RESOURCE_GROUP \
  --location $AZR_RESOURCE_LOCATION
Networking
Create a virtual network with two empty subnets
Create virtual network
az network vnet create \
  --address-prefixes 10.0.0.0/22 \
  --name "$AZR_CLUSTER-aro-vnet-$AZR_RESOURCE_LOCATION" \
  --resource-group $AZR_RESOURCE_GROUP
Create control plane subnet
az network vnet subnet create \
  --resource-group $AZR_RESOURCE_GROUP \
  --vnet-name "$AZR_CLUSTER-aro-vnet-$AZR_RESOURCE_LOCATION" \
  --name "$AZR_CLUSTER-aro-control-subnet-$AZR_RESOURCE_LOCATION" \
  --address-prefixes 10.0.0.0/23
Create machine subnet
az network vnet subnet create \
  --resource-group $AZR_RESOURCE_GROUP \
  --vnet-name "$AZR_CLUSTER-aro-vnet-$AZR_RESOURCE_LOCATION" \
  --name "$AZR_CLUSTER-aro-machine-subnet-$AZR_RESOURCE_LOCATION" \
  --address-prefixes 10.0.2.0/23
Disable network policies for Private Link Service on the control plane subnet
Optional. The ARO RP will disable this for you if you skip this step. az network vnet subnet update \ --name "$AZR_CLUSTER-aro-control-subnet-$AZR_RESOURCE_LOCATION" \ --resource-group $AZR_RESOURCE_GROUP \ --vnet-name "$AZR_CLUSTER-aro-vnet-$AZR_RESOURCE_LOCATION" \ --disable-private-link-service-network-policies trueCreate the cluster
This will take between 30 and 45 minutes. az aro create \ --resource-group $AZR_RESOURCE_GROUP \ --name $AZR_CLUSTER \ --vnet "$AZR_CLUSTER-aro-vnet-$AZR_RESOURCE_LOCATION" \ --master-subnet "$AZR_CLUSTER-aro-control-subnet-$AZR_RESOURCE_LOCATION" \ --worker-subnet "$AZR_CLUSTER-aro-machine-subnet-$AZR_RESOURCE_LOCATION" \ --pull-secret @$AZR_PULL_SECRETGet OpenShift console URL
az aro show \
  --name $AZR_CLUSTER \
  --resource-group $AZR_RESOURCE_GROUP \
  -o tsv --query consoleProfile
Get OpenShift credentials
az aro list-credentials \
  --name $AZR_CLUSTER \
  --resource-group $AZR_RESOURCE_GROUP \
  -o tsv
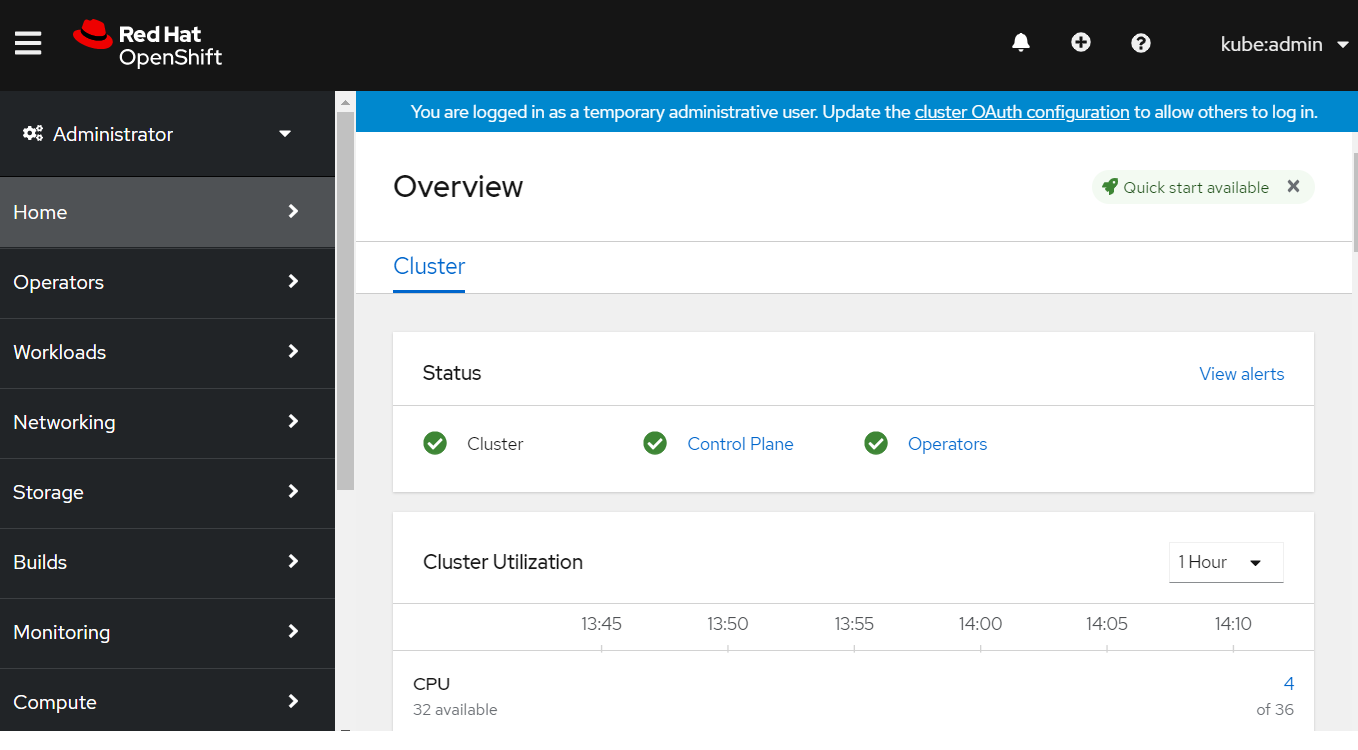
Use the URL and the credentials provided by the output of the last two commands to log into OpenShift via a web browser.

Deploy an application to OpenShift
See the following video for a guide on easy application deployment on OpenShift.
Delete Cluster
Once you’re done its a good idea to delete the cluster to ensure that you don’t get a surprise bill.
Delete the cluster
az aro delete -y \
  --resource-group $AZR_RESOURCE_GROUP \
  --name $AZR_CLUSTER
Delete the Azure resource group
Only do this if there’s nothing else in the resource group. az group delete -y \ --name $AZR_RESOURCE_GROUP
Adendum
Adding Quota to ARO account

Set Issue Type to “Service and subscription limits (quotas)”
Set Quota Type to “Compute-VM (cores-vCPUs) subscription limit increases”
Click Next Solutions »
Click Enter details
Set Deployment Model to “Resource Manager
Set Locations to “(US) East US”
Set Types to “Standard”
Under Standard check “DSv3” and “DSv4”
Set New vCPU Limit for each (example “60”)
Click Save and continue
Click Review + create »
Wait until quota is increased.
