Configure GitLab as an identity provider for ARO
This content is authored by Red Hat experts, but has not yet been tested on every supported configuration.
The following instructions will detail how to configure GitLab as the identity provider for Azure Red Hat OpenShift:
- Register a new application in GitLab
- Create OAuth callback URL in ARO
- Log in and confirm
- Add administrative users or groups
Register a new application in GitLab
Log into GitLab and execute the following steps:
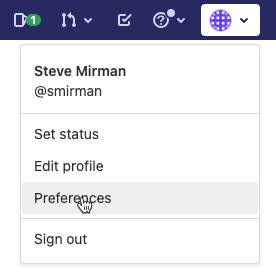
Go to Preferences
Select Applications from the left navigation bar

Provide a Name and enter an OAuth Callback URL as the Redirect URI in GitLab
Note: the OAuth Callback has the following format:
https://oauth-openshift.apps.<cluster-id>.<region>.aroapp.io/oauth2callback/GitLab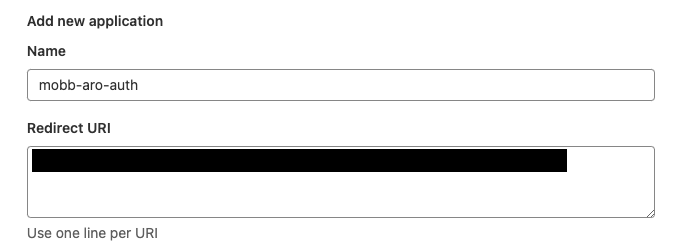
Check the openid box and save the application

After saving the GitLab application you will be provided with an Application ID and a Secret
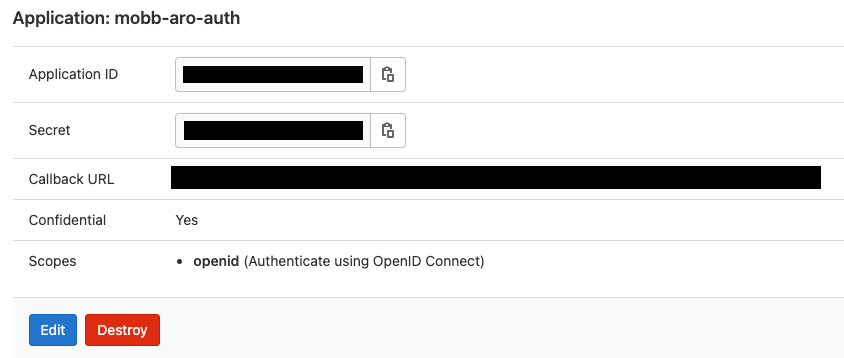
Copy both the Application ID and Secret for use in the ARO console
Create OAuth provider in ARO
Log in to the ARO console as an administrator to add a GitLab identity provider
Select the ‘Administration’ drop down and click ‘Cluster Settings’

On the ‘Configuration’ scroll down and click on ‘OAuth’

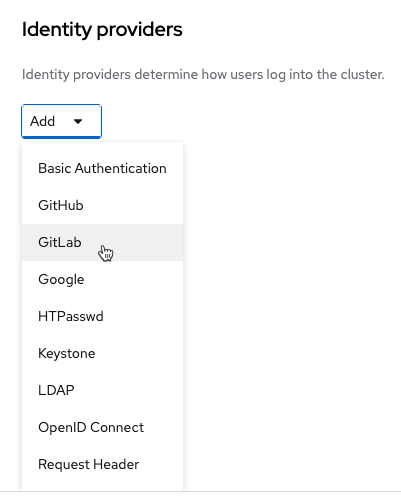
Select ‘GitLab’ from the Identity Providers drop down
Enter a Name, the base URL of your GitLab OAuth server, and the Client ID and CLient Secret from the previous step
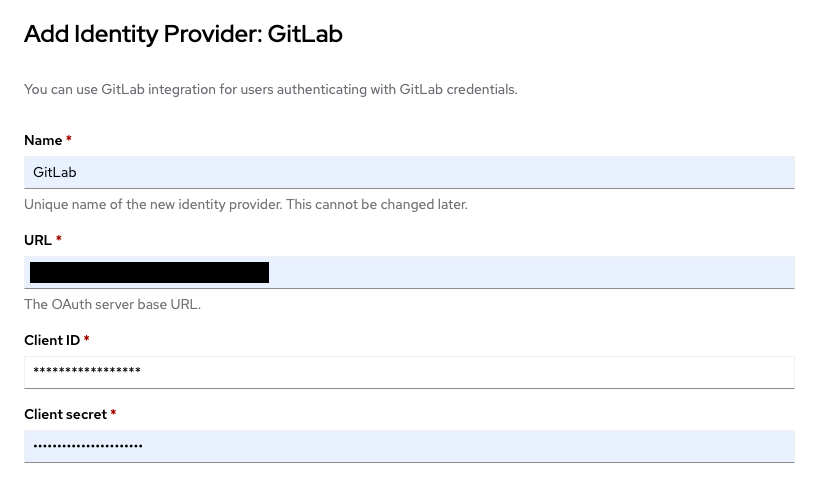
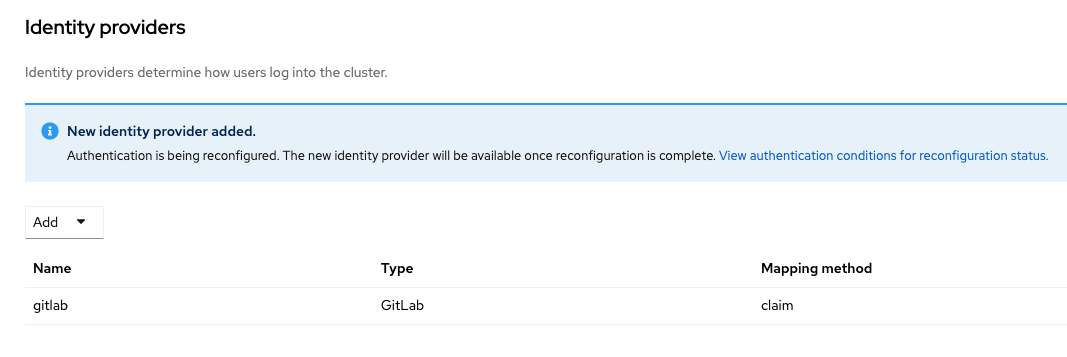
Click Add to confirm the configuration
Log in and confirm
Go to the ARO console in a new browser to bring up the OpenShift login page. An option for GitLab should now be available.
Note: I can take 2-3 minutes for this update to occur

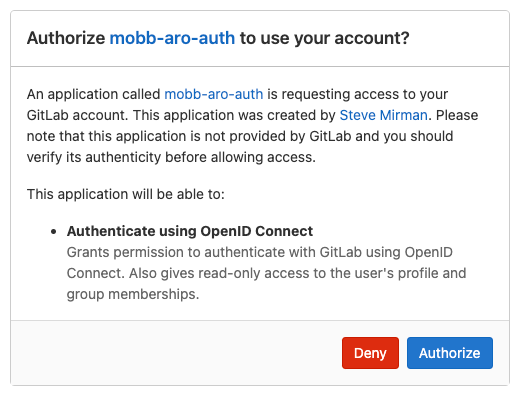
After selecting GitLab for the first time an authorization message will appear. Click Authorize to confirm.
Once you have successfully logged in using GitLab, your userid should display under Users in the User Management section of the ARO console
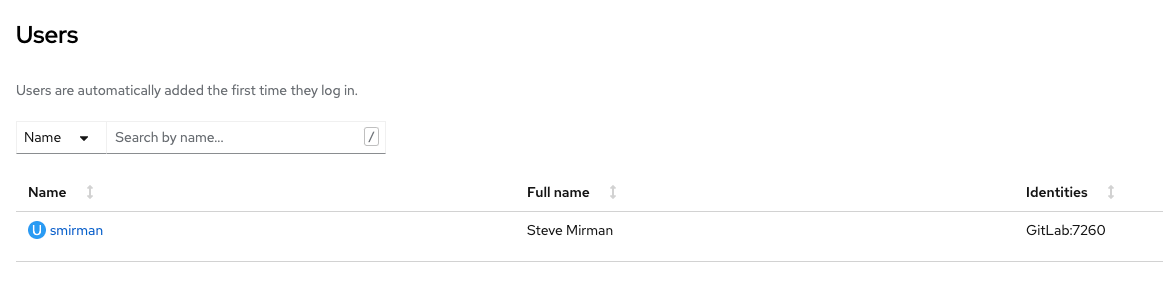
Note: On initial login users do NOT have elevated access
Add administrative users or groups
Now that the GitLab identity provider is configured, it is possible to add authenticated users to elevated OpenShift roles. This can be accomplished at the user or group level.
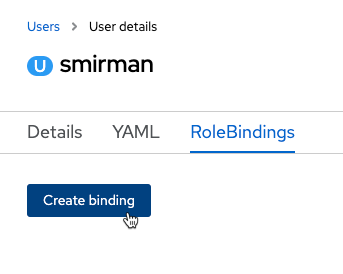
To elevate a users permissions, select the user in the OpenShift console and click Create Binding from the RoleBindings tab
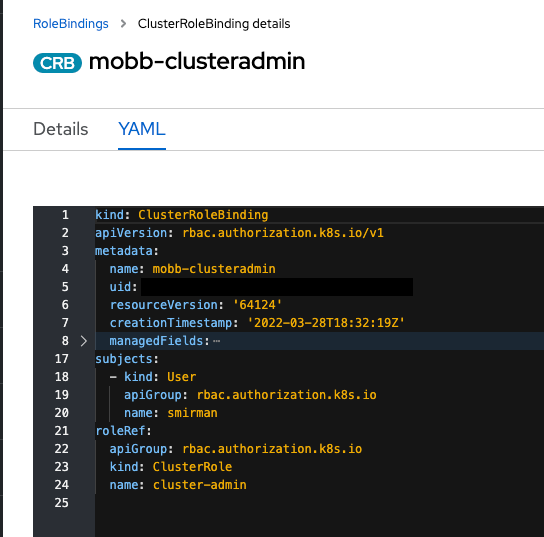
Choose the scope (namespace/cluster), assign a name to the RoleBinding, and choose a role.
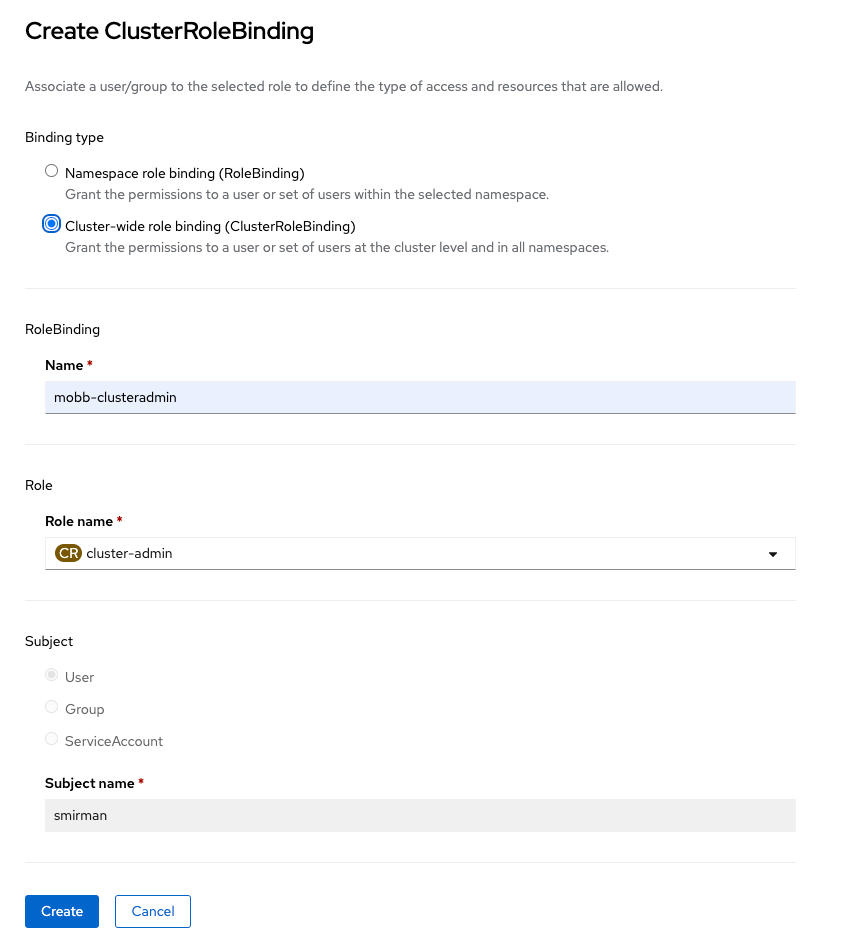
After clicking Create the assigned user will have elevated access once they log in.
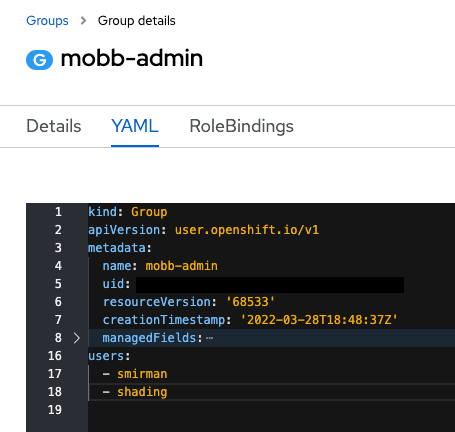
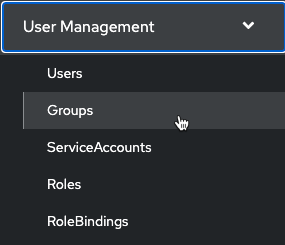
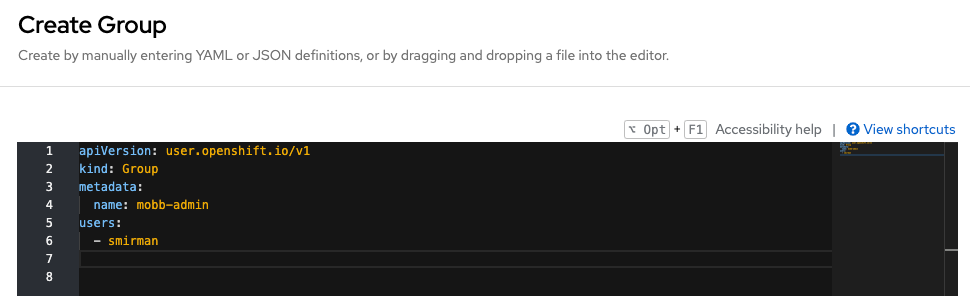
To elevate a groups permissions, create a group in the OpenShift console.
Edit the group YAML to specify a custom name and initial user set
Create a RoleBinding for the group, similar to what was configured previously for an individual user
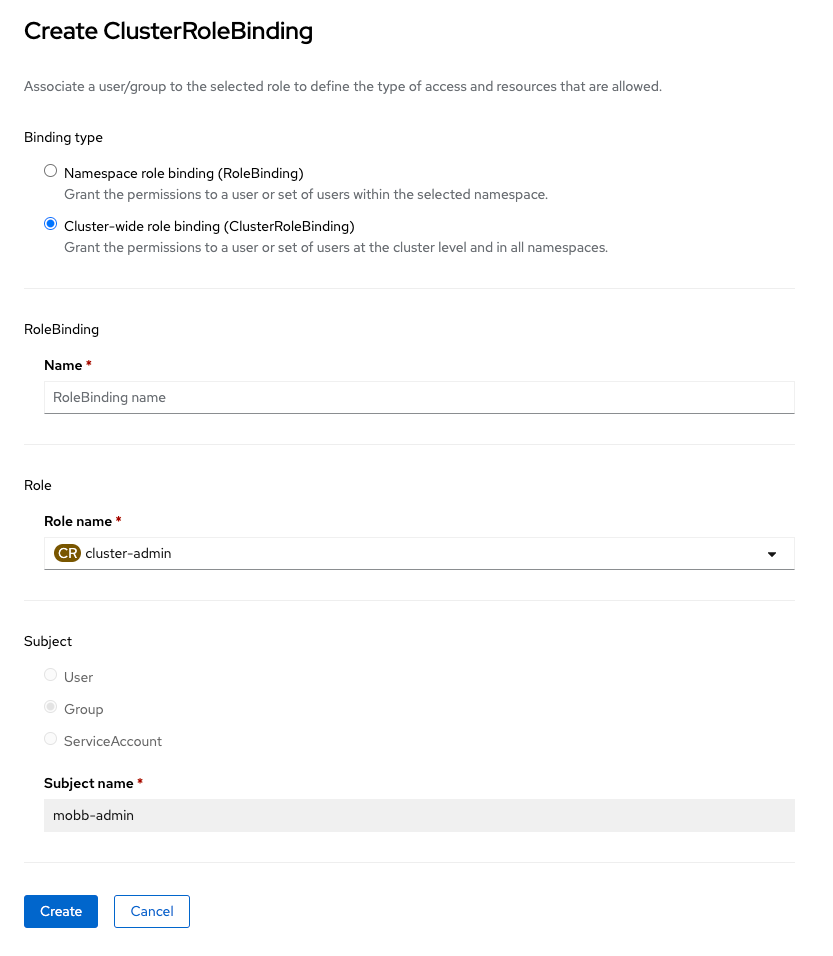
Add additional users to the YAML file as needed and they will assume the elevated access